Introduction
The procedure of installing air source heat pumps in your building will vary depending on the type of air source heat pump you’re installing, whether your system will contain small splits or a central packaged system, and whether your system is ducted or ductless.
Installation process
Ductless heat pump systems are less complicated and quicker to install than ducted systems. On average, the installation process takes one day per indoor unit. Installation times will be greater for systems with several units or those that employ ducting. Your Air source heat pump installer will typically use 5 steps when installing an air source heat pump:
- Putting up indoor units
- Adding access points within the house
- Connecting the outside pipe to the indoor unit
- Setting up an outside unit
- Connecting wiring and power
Step 1- Putting up indoor units
The interior unit for your air source heat pump will be installed first by the majority of technicians.
If you’ve decided to go with a ductless system, the contractor will find an unobstructed spot on the wall inside the zone to mount the unit. He or she will attach a mounting plate to support the indoor unit and fasten it to it.
Step 2- Adding access points within the house
An access point must exist between the interior unit or air handler and the outside condenser. Your installer will drill a hole in the wall to pass piping and lines through. This will serve as an exit for the refrigerant lines, as well as an electrical line and a condensate drain line, which will convey water from the inside unit to the outside.
Step 3- Connecting the outside pipe to the indoor unit
The refrigerant and condensate lines are then connected to the interior units. The refrigerant lines allow the refrigerant to circulate between the inside and outdoor condensers. The lines will deliver warm or cold liquid to the interior units, which is subsequently pushed as air in the zone, depending on whether your air source heat pumps are heating or cooling at the moment.
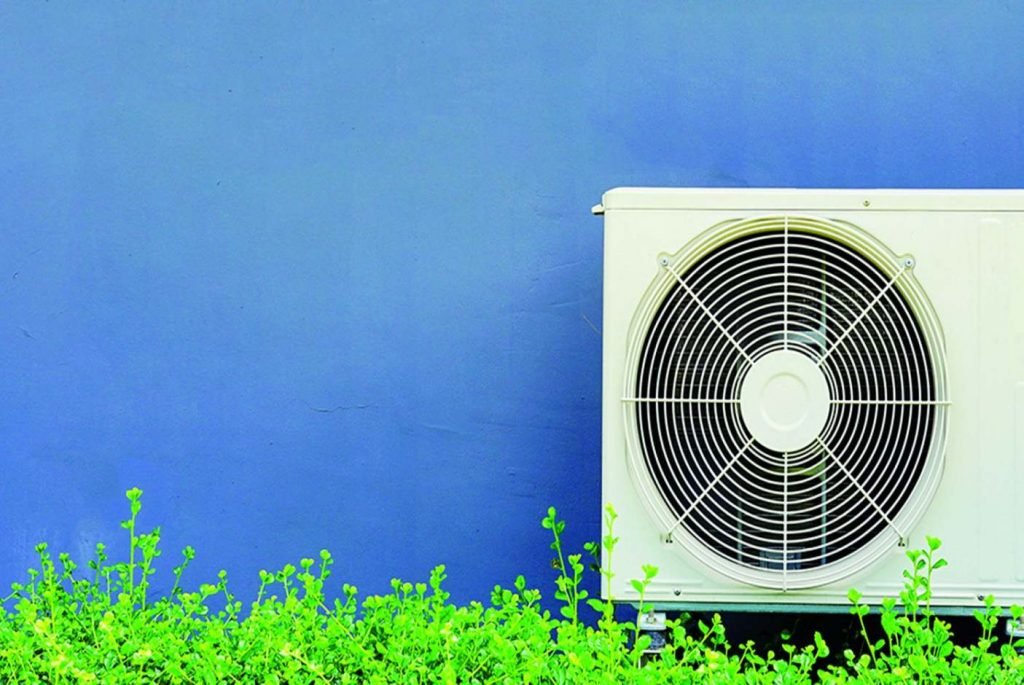
Step 4- Setting up an outside unit
Your contractor will install the outdoor unit after the indoor unit is complete. Installers would often place a concrete slab on the ground to house the outside condenser for bigger (packaged or central systems). If it’s a compact split system or an air source heat pump with a smaller system, it’ll most likely be put on the side of your house. This mount is often elevated above the ground, particularly in colder climates where the installer may preferentially position the system over potential snowlines.
Step 5- Connecting wiring and power
After installing the interior and outdoor units, your installer will connect them using the refrigerant line and electrical cables. To protect the wiring from the weather, installers will either insulate these wires or run them via conduits on the side of your property. A drain line will also be constructed on the exterior of the property to divert moisture from the unit and away from the interior of your home.


